

Render
Render makes realistic pictures of your design, for slides, posters, your engineering notebook or your team’s website. It works like the renderers in professional 3D programs: it traces how light bounces around the scene, then cleans up the picture.
Click Render above the 3D view.
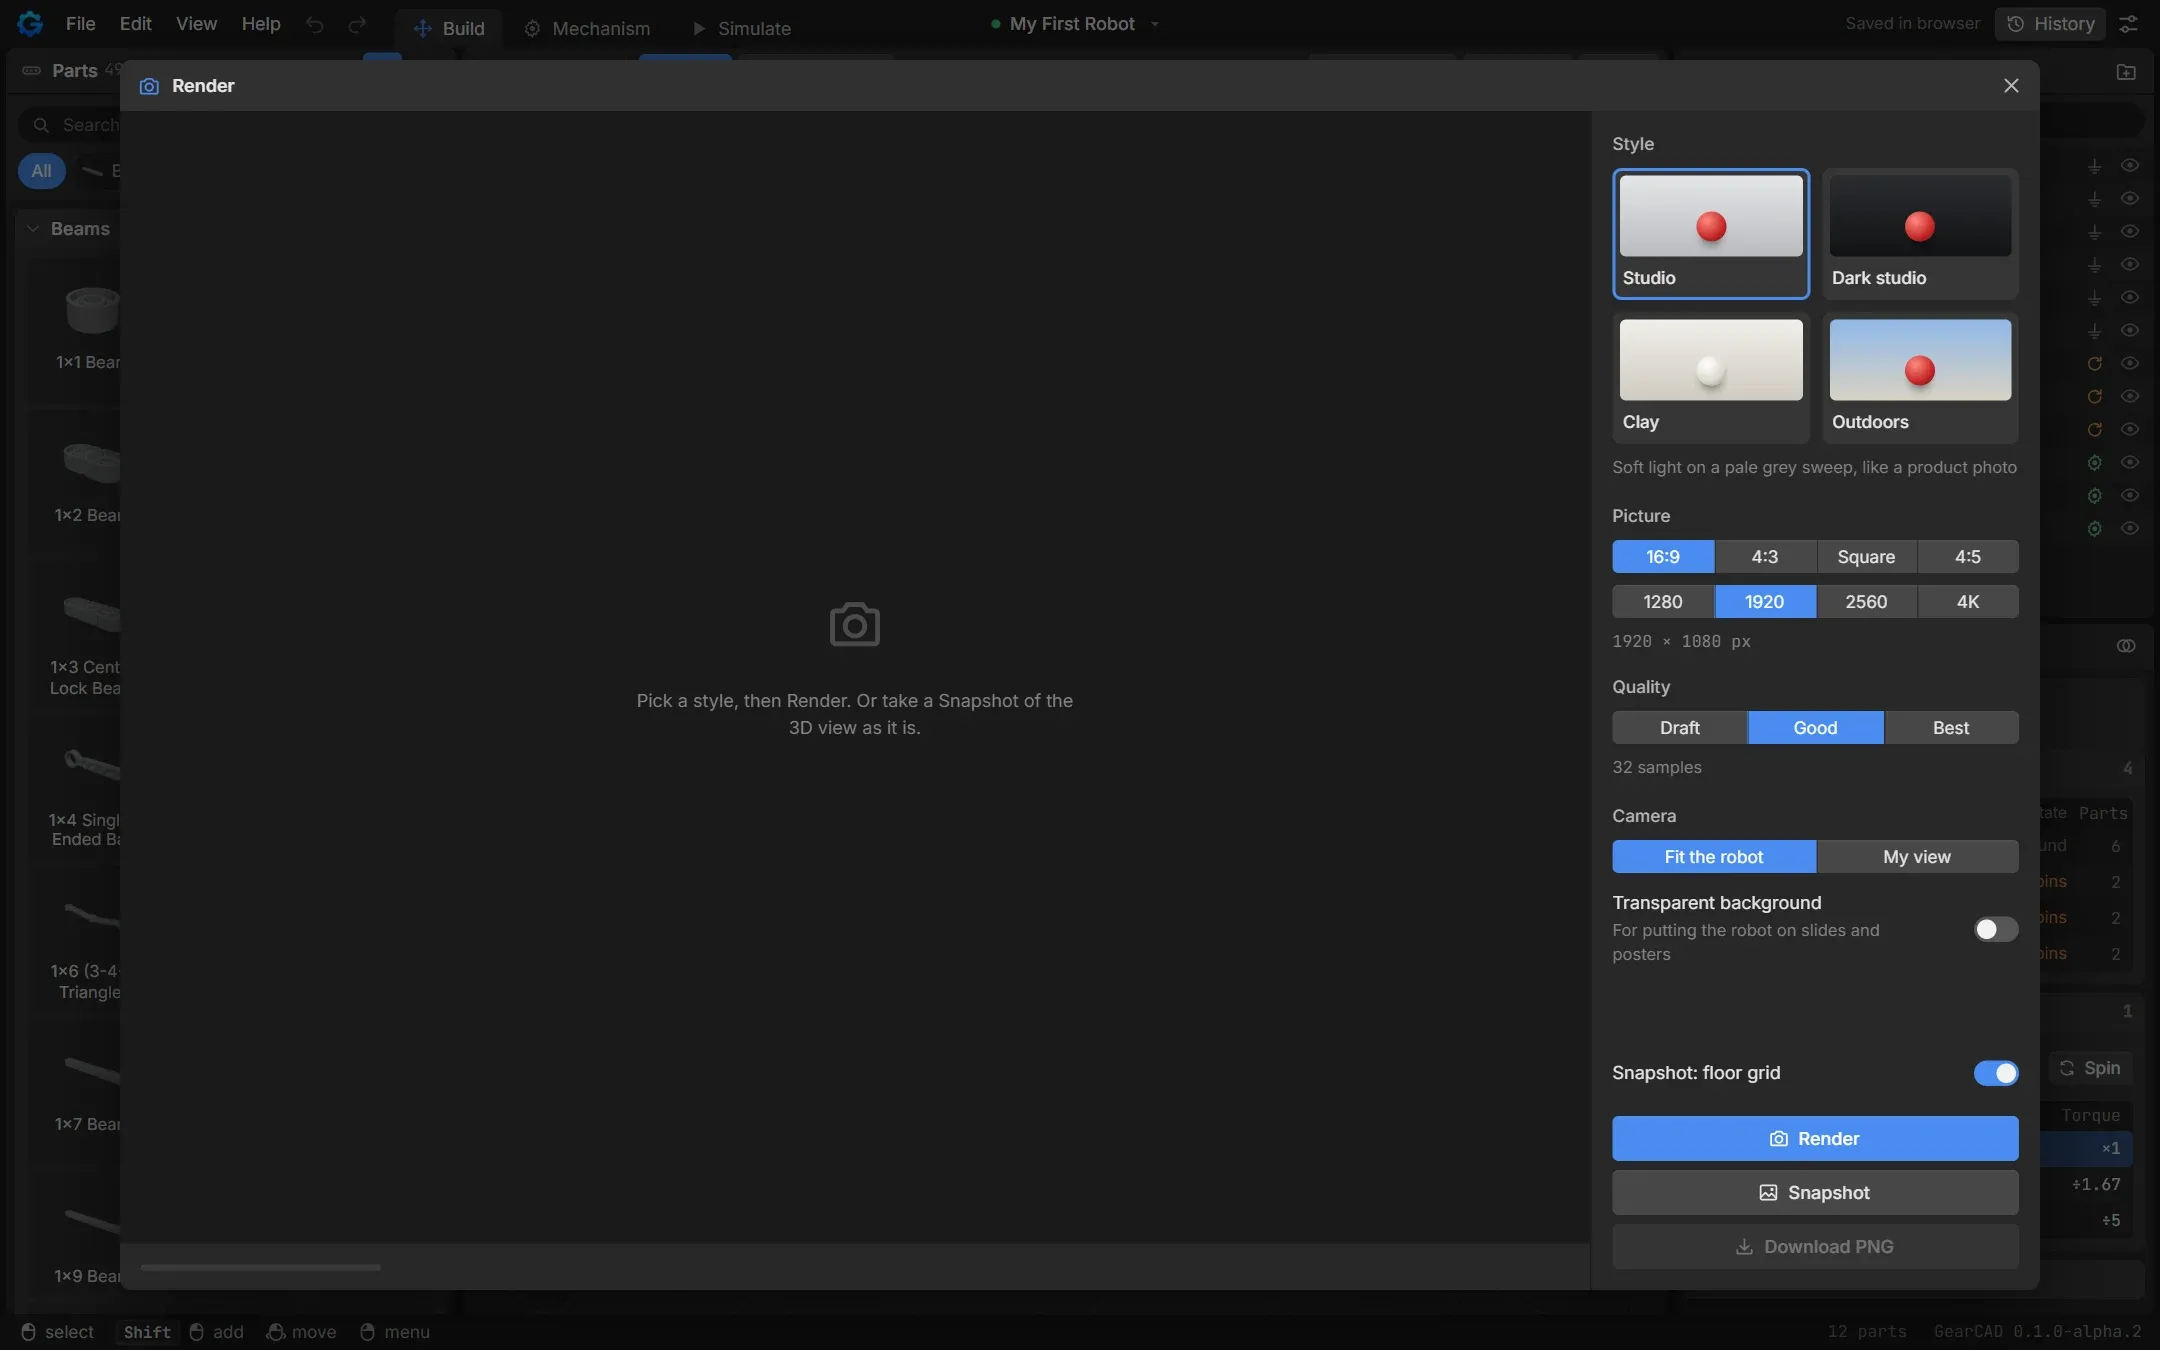
Settings
Section titled “Settings”- Style: where your robot is photographed.
- Studio: soft light on a pale grey background, like a product photo.
- Dark studio: the same on a dark background.
- Clay: every part in plain white, to show the shape of the design.
- Outdoors: daylight and a blue sky.
- Picture: the shape (16:9 for slides, Square, and others) and the size, up to 4K.
- Quality: Draft is quick, for checking the angle. Good and Best take longer and look cleaner.
- Camera: Fit the robot frames the whole design. My view uses the angle you have in the 3D view: set that up first, then open Render.
- Transparent background: no background at all, so you can put the robot on top of anything in slides or a poster.
Click Render and watch the picture get clearer. When it’s done, click Download PNG.
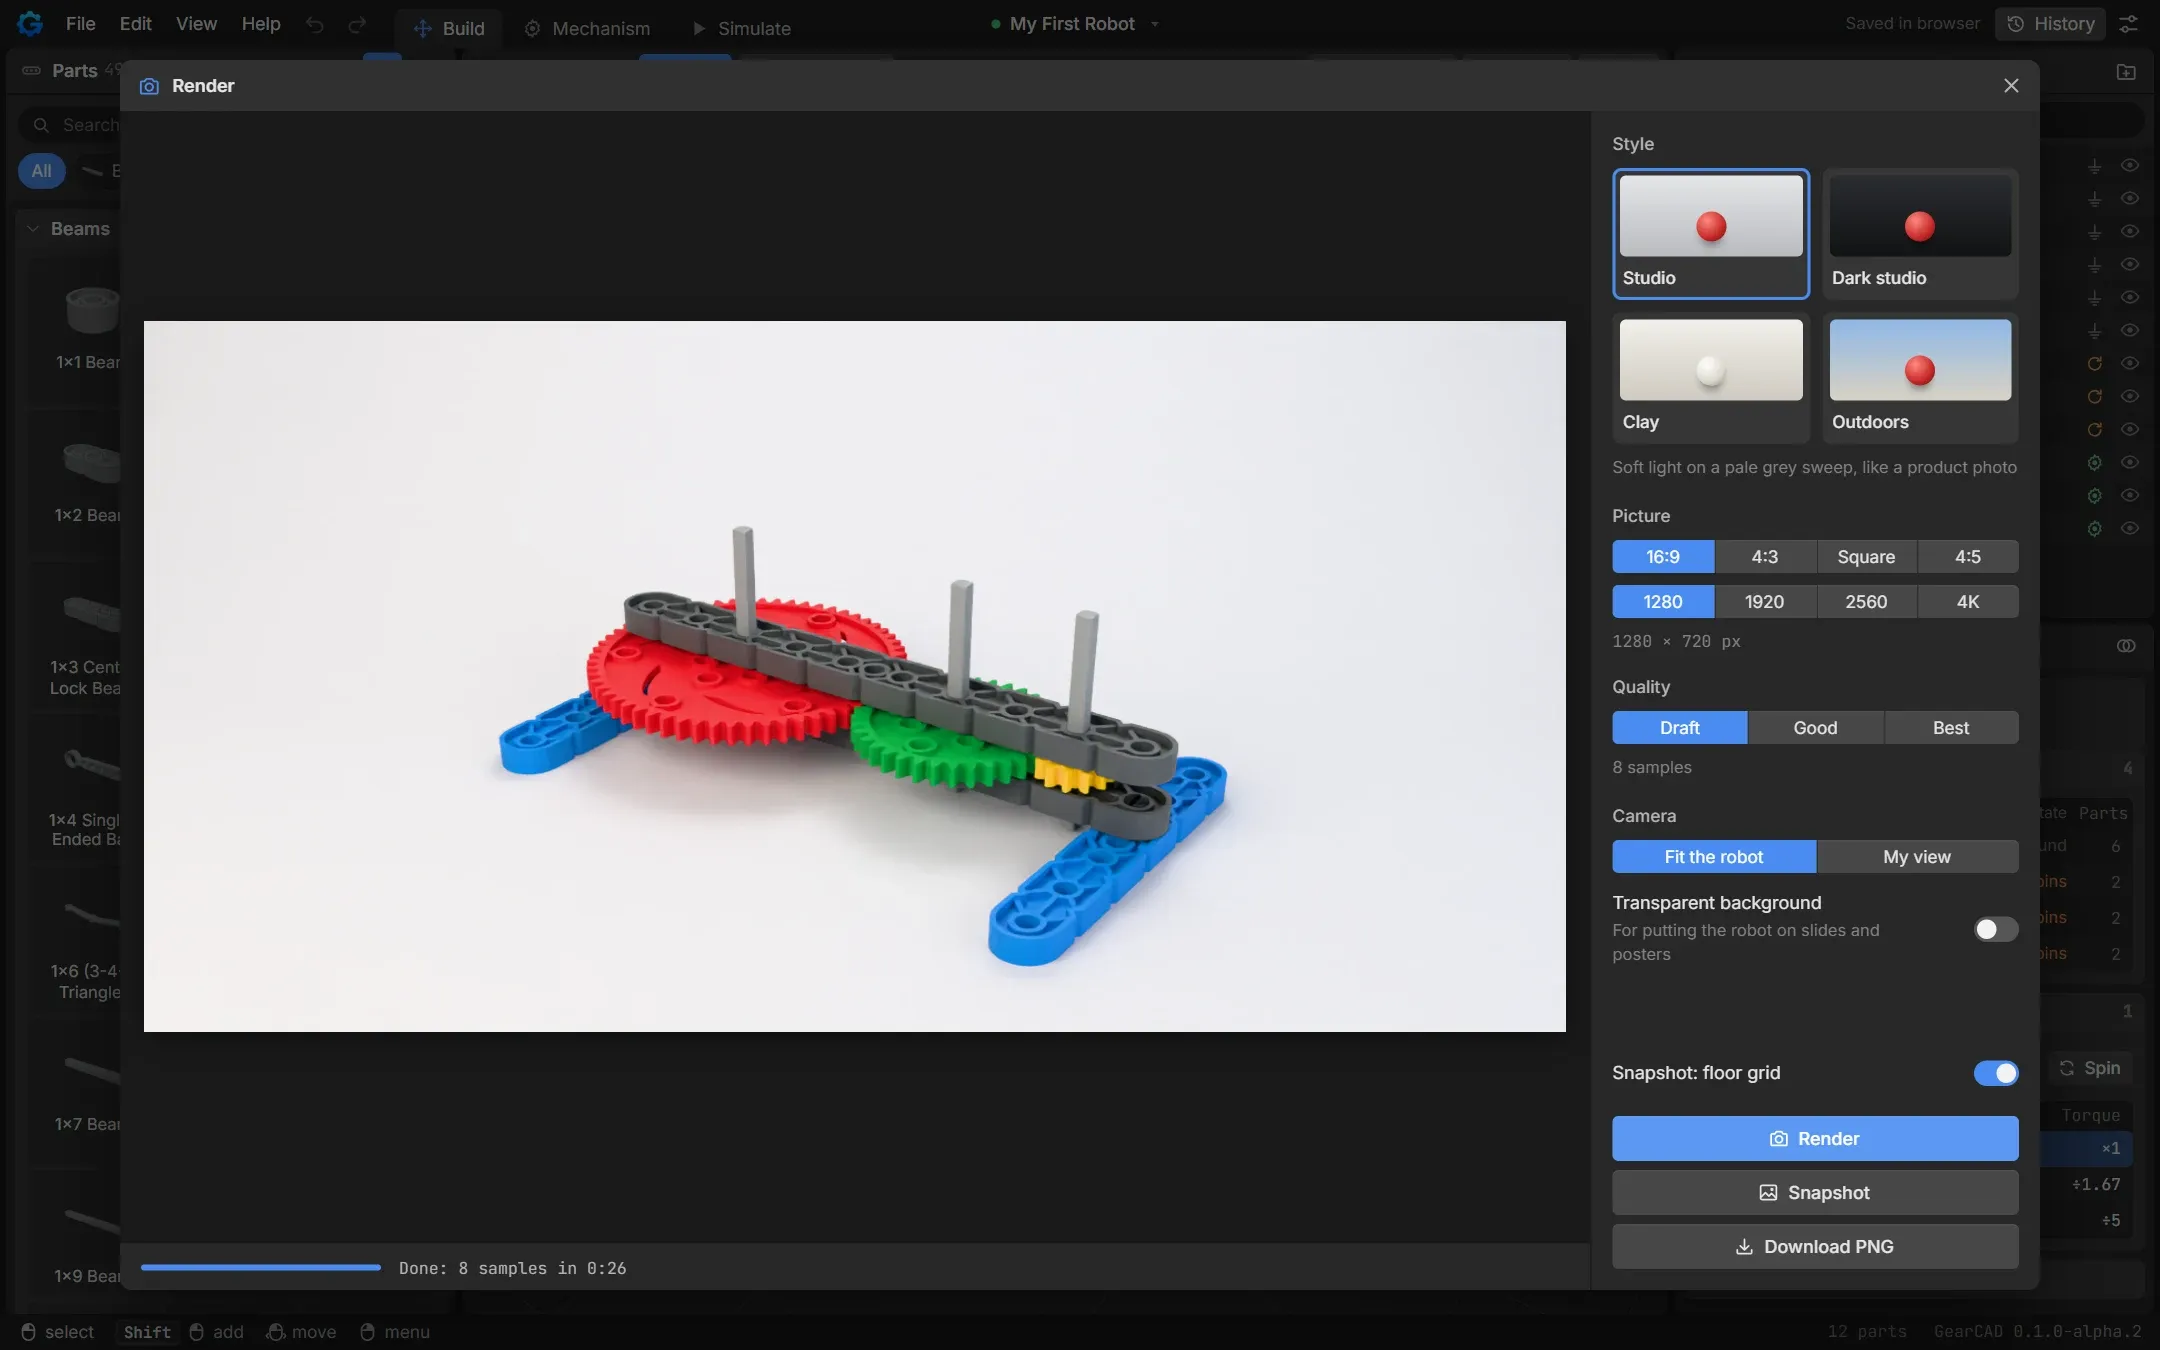
Snapshot
Section titled “Snapshot”Snapshot saves the 3D view just as it looks, straight away. It’s useful for quick pictures of work in progress. The Snapshot: floor grid switch chooses whether the grid shows.
If it’s slow
Section titled “If it’s slow”Rendering uses your computer’s graphics card. On a school laptop without a strong one, it can take a while. To speed it up, use Draft quality or a smaller size. You can click Stop at any time.